
LEGO & 3D conversion
How to convert a 3D file into a LEGO build with a true digital model for free?
Practical guide to converting a 3D model into a LEGO build: principle, resolution, formats (STL, OBJ), LDraw export and opening in BrickLink Studio.
Introduction: why convert a 3D model to LEGO?
For MOC creators, artists and designers, converting a 3D model into a LEGO build makes it possible to move from a smooth digital shape to an assembly of physical elements. The conversion makes visualisation, fabrication and the preparation of a parts list for purchasing and building easier. This guide explains the technical principles (voxelisation, real brick sizes), the practical constraints and how to use the free 3D converter offered by DEPARKATRE to obtain a LEGO model usable in building software.
Basic principles: from 3D geometry to LEGO bricks
What is voxelisation?
Voxelisation consists of representing a continuous volume by small cubes (voxels), analogous to 2D pixels. To convert to LEGO, the model's volume is cut into units corresponding to the LEGO studs grid. Each voxel is then replaced by one or more LEGO elements (brick, plate, slope, tile) according to the chosen strategy.
Physical dimensions of bricks and implications
The basic LEGO grid is linked to the stud dimension: 1 stud = 8 mm × 8 mm. The height of a plate is 3,2 mm; a 1×1 brick (1 brick) corresponds to three plates, i.e. approximately 9,6 mm in height. These dimensions determine the vertical and horizontal resolution of the conversion: a fine resolution (small voxels) gives more fidelity but greatly increases the number of parts.
Resolution and fidelity / part count trade-off
- High resolution: small voxels, better capture of details, many parts, model heavier and slower to process. - Medium resolution: good compromise for busts and decorative sculptures; reduces the number of parts while preserving the general shape. - Low resolution: very “blocky” appearance, useful for quick tests, concept maquettes or large structural volumes.
The chosen resolution will depend on the desired level of detail, the parts budget and the ability to assemble a potentially complex structure.
From block representation to a truly editable LEGO model
Difference between a voxelised render and an editable LEGO model
Many tools produce an image or a blocky mesh. A model truly usable for building must: - replace each voxel with a real LEGO part (with a reference); - respect the studs grid and mechanical connections; - allow export to an editable format (LDraw, BrickLink Studio) for further changes.
A simple render is not sufficient to obtain a parts list or to edit the assembly in building software.
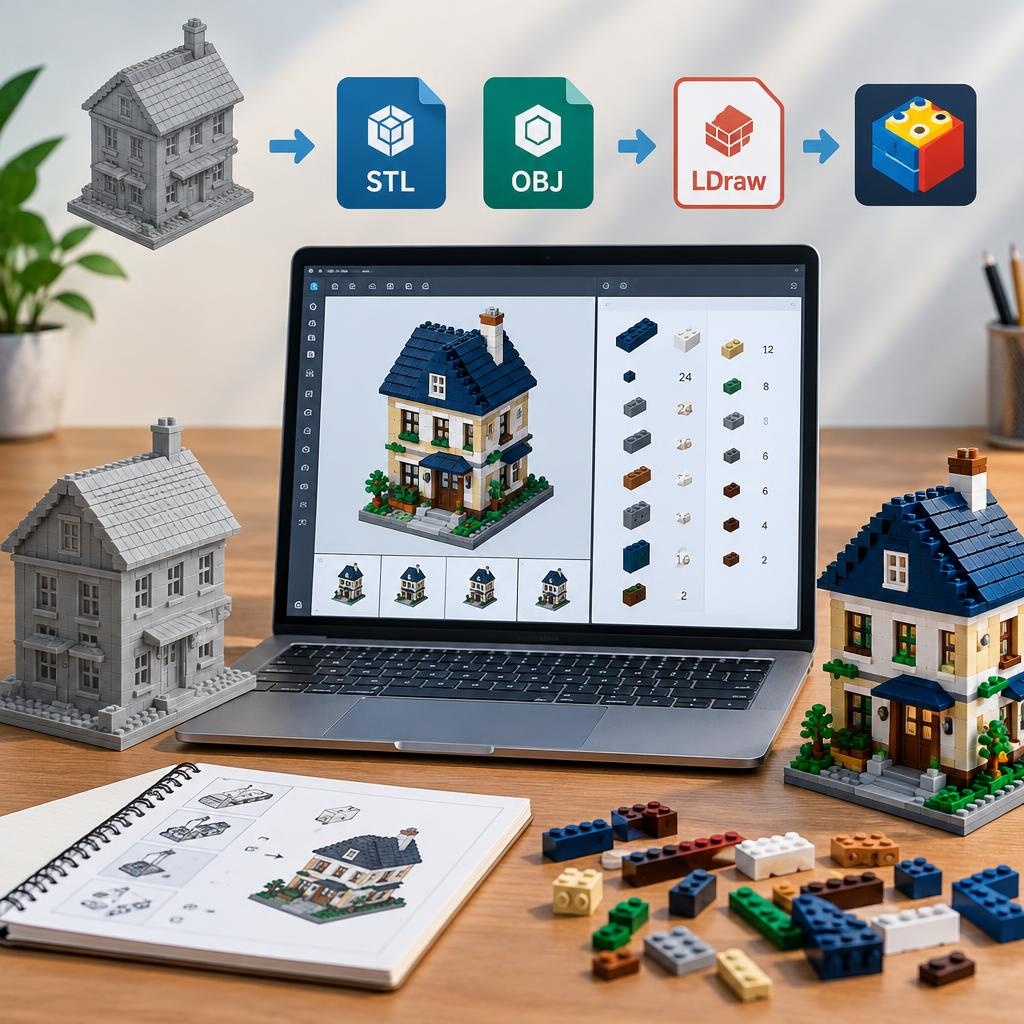
Choice of parts and assembly strategy
Automatic conversion involves decisions: favour 2×2 or 1×1 bricks for fidelity, use plates for thin surfaces, include slopes and tiles to smooth the appearance. The converter can offer “strategies”: bricks and plates only, parts optimised for stability, or an aesthetic-oriented mix (many slopes/tiles). Each strategy affects mechanical strength and ease of assembly.
The free DEPARKATRE converter: features and usage steps
DEPARKATRE offers a free engine for converting 3D models into LEGO. Here are the typical features and the steps to transform a 3D file into a digital model ready to be edited and exported.
General usage steps
1. Import the 3D file: upload your STL, OBJ, PLY (common 3D printing formats) or another supported format. 2. Automatic cleaning: the tool detects and fixes holes, inverted normals or non-manifold meshes when necessary. 3. Choose the resolution (voxel size) and the parts strategy (bricks/plates/slopes). 4. Select a colour palette: basic options (standard LEGO palette) or import personal colours. 5. Voxelised 3D preview: view and rotate the model, enable layer-by-layer views. 6. Structural optimisation: enable the addition of an internal skeleton or anchor points for stability. 7. Export: obtain an LDraw file (.ldr/.dat) or a file compatible with BrickLink Studio (.io) depending on the export option available; also download the parts list in CSV format.
Supported formats
The input formats generally accepted by 3D converters are STL, OBJ and PLY. As output, standard formats for LEGO models are LDraw (.ldr/.dat) and, when compatibility is available, the Studio (.io) format used by BrickLink Studio. DEPARKATRE offers export to LDraw and, depending on the chosen option, an export optimised for opening in BrickLink Studio. Check the converter page for the complete and up-to-date list of supported formats.
Useful concrete functions
- Interactive preview and layer cuts to check the conversion before export. - Automatic optimisation options (part grouping, removal of isolated parts). - Generation of a bill of materials (BOM) exportable as CSV. - Ability to indicate zones to prioritise for detail or reinforcement.
Importing and editing the generated file in BrickLink Studio
Opening an LDraw file in BrickLink Studio
LDraw is a format widely used in the community. Many building programs, including BrickLink Studio, can open or import LDraw files. Once imported, the model appears as an assembly of real parts, editable: you can replace parts, add internal reinforcements, change colours or optimise the structure.
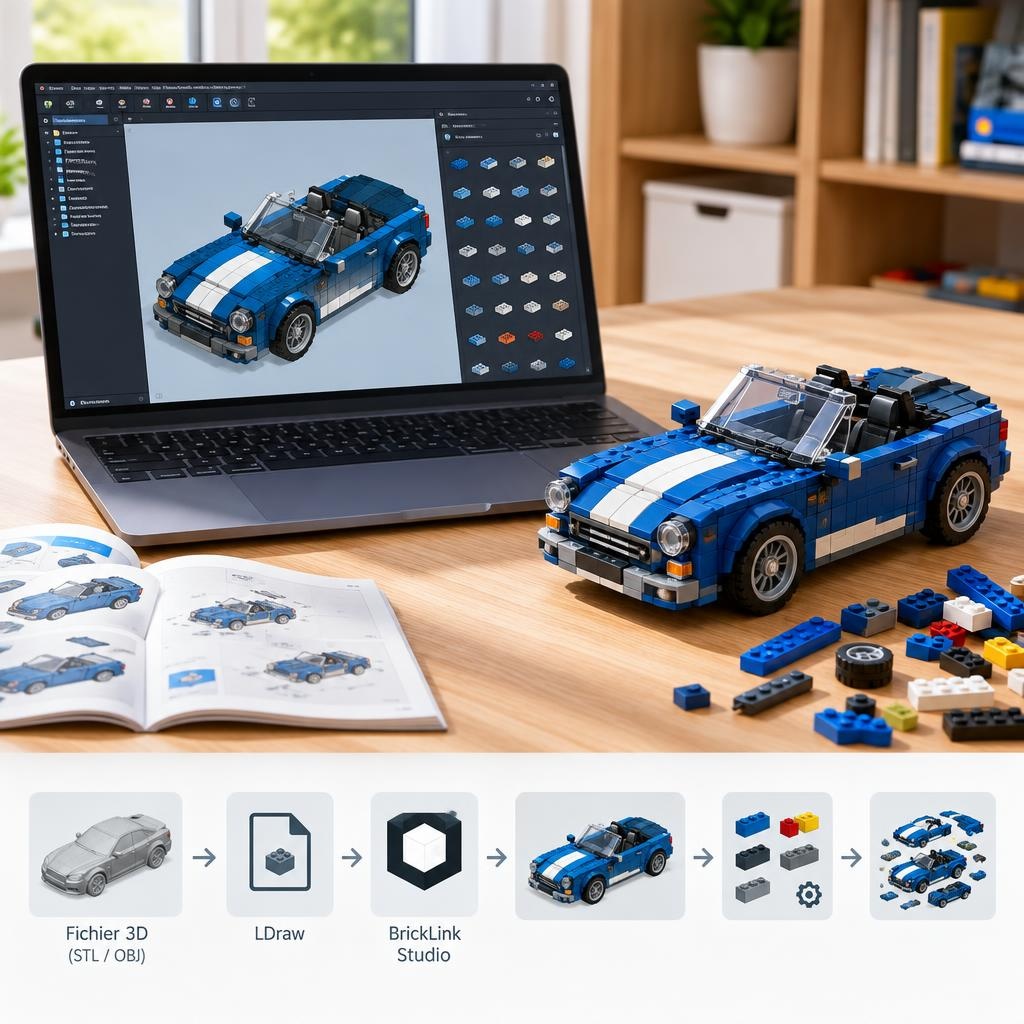
Editing the model: practical tips
- Start by enabling connection visibility to spot fragile areas. - Replace very thin areas with stacked plates or with technic elements to increase rigidity. - Use long plates and bricks to spread stresses, especially for large vertical faces. - Locally replace 1×1 voxels with 1×2 or 2×2 when this does not degrade the silhouette to reduce the total number of parts.
Limits of automatic conversion
- Very thin shapes or fine details: may disappear at low resolution. - Complex curves and smooth surfaces: conversion produces a stepped effect; slopes and tiles will often need to be added manually to smooth them. - Suspended parts (floating elements): require temporary supports or mechanical solutions (axles, pins) not generated automatically in all cases. - Mechanical robustness: conversion does not replace physical validation. Structural defects can appear for large sculptures or long elements if reinforcements are not planned.
Strength, stability and parts count estimation
The engine can roughly estimate the number of parts according to the chosen resolution and strategy. For a stable model: - plan liaison layers (plates) and cross members; - add internal technic “cores” for heavy objects; - consider how you will assemble the object (divide into sub-assemblies to ease building and transport).
Concrete conversion examples
- Bust / sculpture: at medium resolution, the head and main features are preserved; plan slopes to smooth the forehead and nose. Internal reinforcements recommended. - Vehicle: conversion of the main volume is straightforward, but details (doors, steering wheel) are better made by hand after export. Integrate attachments for wheels and axles. - Animal / figurine: choose a fine resolution for legs and head, otherwise simplify the pose to avoid fragile parts. - Decorative object (lamp, vase): useful at low to medium resolution; provide reinforcements if the object is hollow.
In each case, comparing the smoothed 3D model and its LEGO version visually highlights areas to retouch: pronounced edges, loss of fine details, or overly dominant flat surfaces.
Preparing the physical build and the parts list
Once the model has been edited in BrickLink Studio or an LDraw editor: - Export the parts list (BOM) as CSV. - Check each reference and colour (replace colours with those available if necessary). - Split the model into practical sub-assemblies for building. - Assess the need for special parts (pins, axles, technic) for reinforcements.
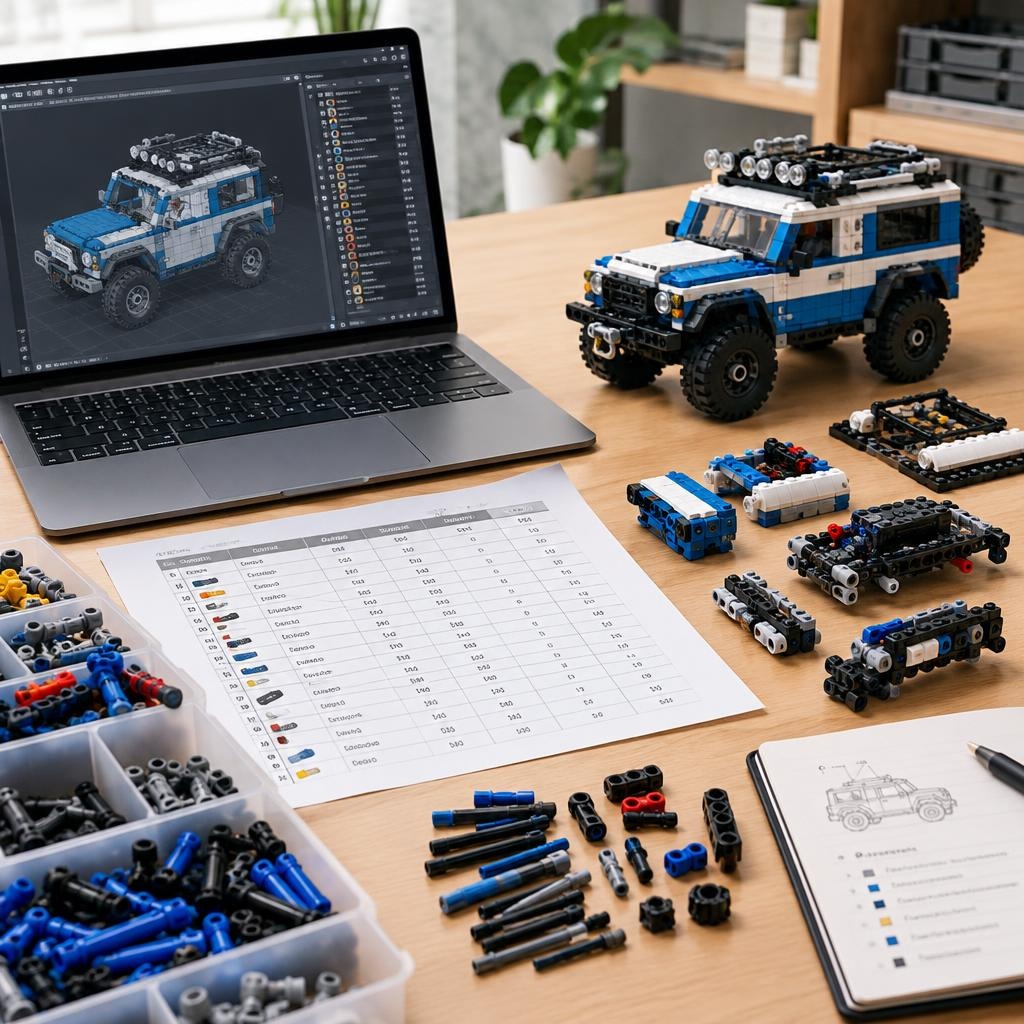
DEPARKATRE offers automatic generation of a BOM to ease searching for and purchasing the necessary parts.
FAQ
Q: Can an STL be converted to LEGO? A: Yes. An STL (common 3D printing format) can be imported into a voxelising converter to produce a digital LEGO model. The result will depend on the chosen resolution and the mesh quality.
Q: How do you turn a 3D object into bricks? A: The process includes importing the 3D file, voxelising on the LEGO grid, mapping voxels to real parts, structural optimisation and exporting to an editable format (LDraw, Studio). Manual touch-ups are often necessary to reinforce or smooth the model.
Q: Which software opens an LDraw file? A: Several LEGO 3D editors accept the LDraw format. BrickLink Studio is one of the popular tools to edit and prepare a model built from an LDraw file.
Q: Can the generated model actually be built? A: Yes, if the model has been converted to real parts, optimised for strength and prepared in sub-assemblies. You must however check solidity, add reinforcements and sometimes replace or group voxels to reduce the part count.
Conclusion and call to action
Converting a 3D file into a LEGO build opens creative possibilities for artists, designers and model makers. The process relies on voxelisation, knowledge of real brick dimensions, and pragmatic choices about resolution and parts. The free DEPARKATRE converter offers a complete workflow: import, cleaning, conversion, preview, optimisation and export (LDraw/Studio) with BOM generation. Try it for free on DEPARKATRE.fr to turn your next 3D model into a real LEGO project, then use the parts list to search for and buy the necessary parts in the shop.